Friday, December 2, 2011

Chip Board Monogram Tutorial

 In this tutorial, I will teach you how to make this chic monogram. 
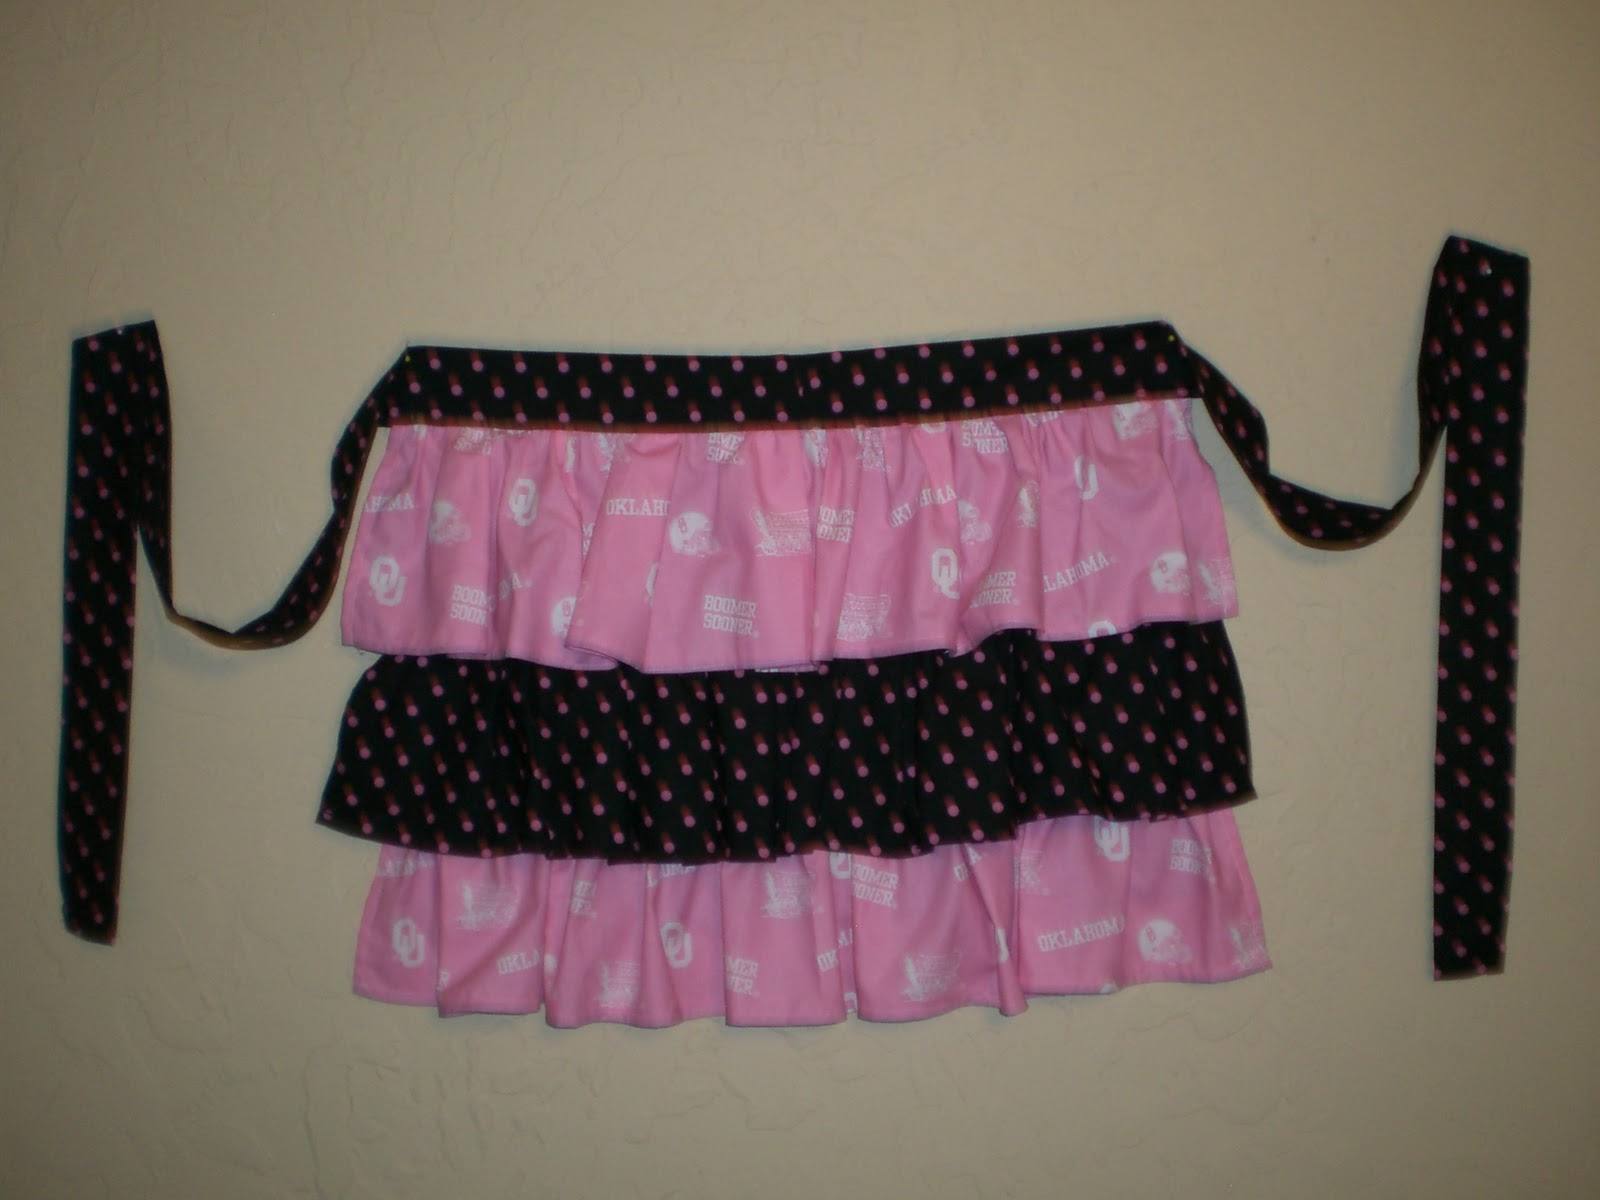
Some examples:


First, get your workspace ready.  I like to put down a layer of freezer paper wherever I happen to be working.  You can find it at your local grocery store.  It has a shiny side and paper side, for this project we'll use shiny side up. 
You'll also need:
 Mod Podge
 A sponge brush
 Chip Board letter (I found these for $1.99 at Hobby Lobby)
 Scrapbook paper
 Exacto knife
 Brown/black acrylic paint
 Acrylic sealer
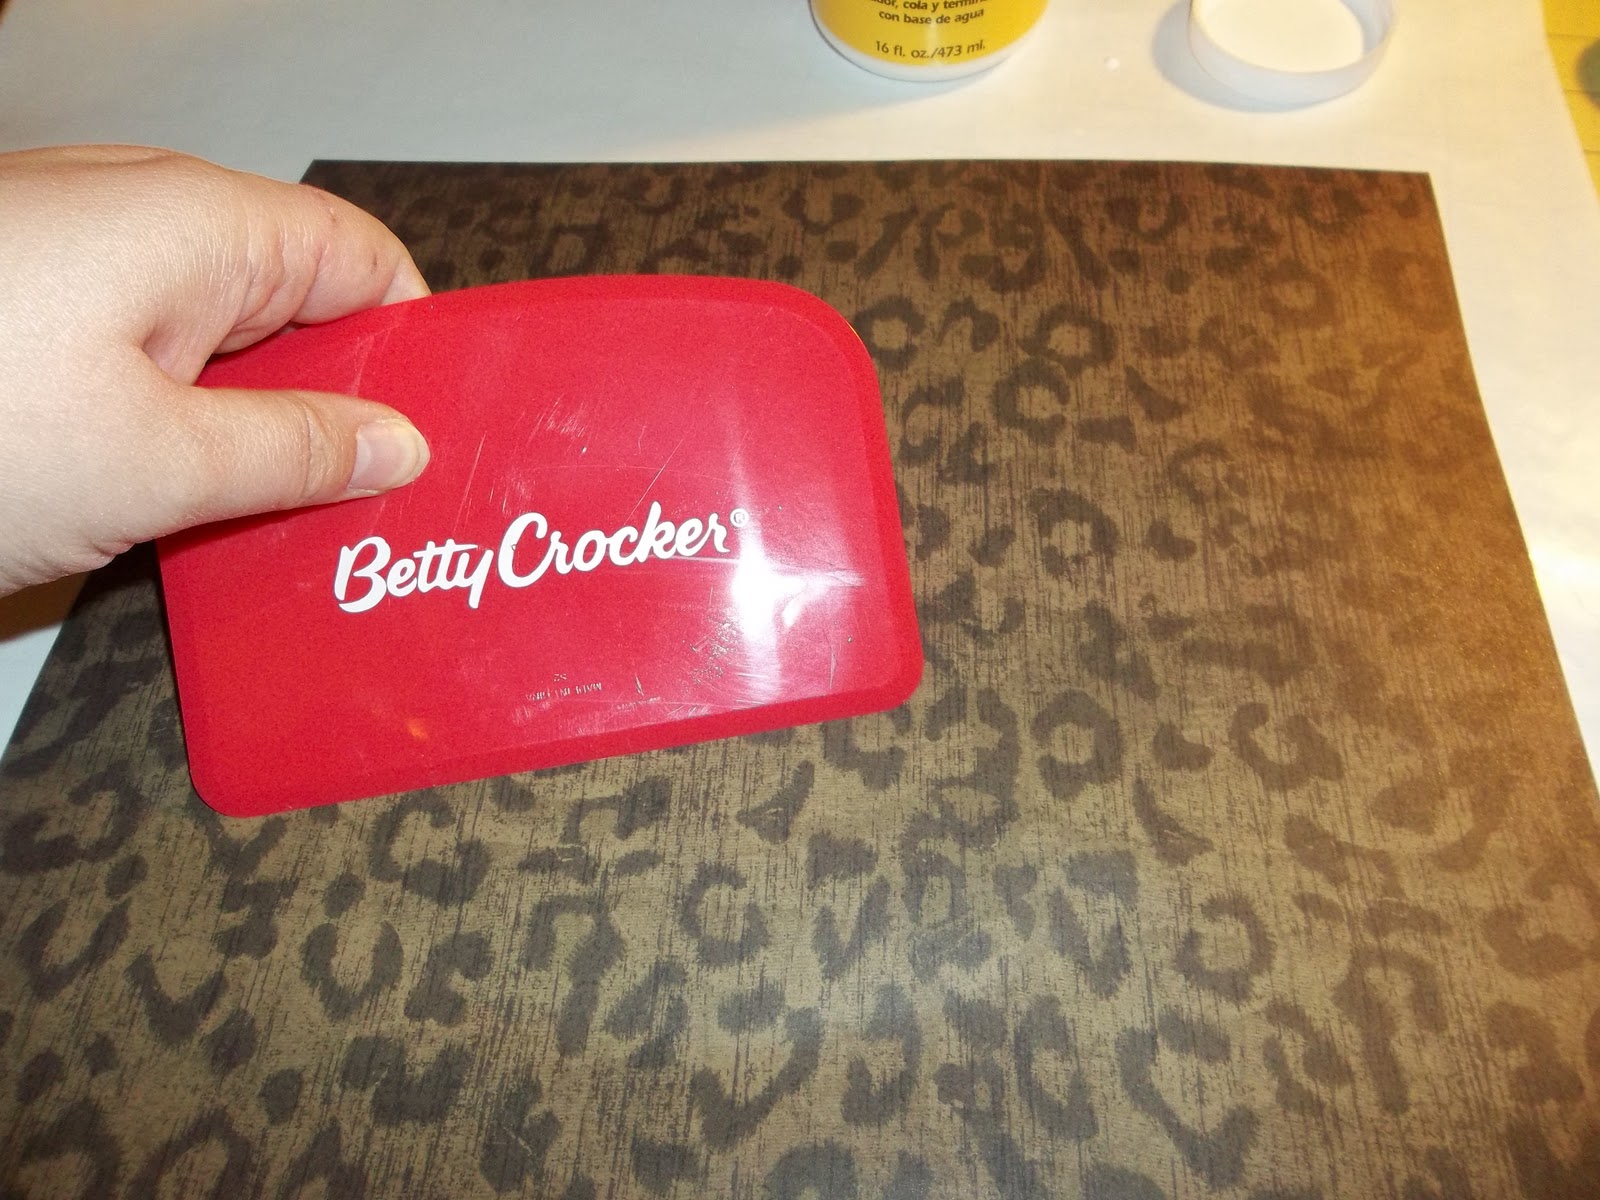
 If desired, a dough scraper (the one below I got at my local Dollar Tree for $1.00)


 Once your workspace is ready, cover the letter with a thick layer of Mod Podge (if it's too thin, it will dry before you adhere the scrapbook paper to it!)


 Next, put your scrapbook paper on top of the Mod Podged side and carefully smooth paper to monogram, removing air bubbles as you go, then let dry.


Once dry (appx 1 hour), CAREFULLY trim paper from edge of monogram on top of a self-healing mat.


If desired, take a bit of fine-grain sandpaper and smooth edges and scuff the corners.  You want to make it look worn and tired.


Next, sponge on some black or brown acrylic paint to the edges of the monogram.  I like to use a combination of the 2 colors, but each scarpbook paper will call for its own color. 
*Take a bit of scrap from the trimming step and see which color looks best*


"Aged" edges:  (this one was done with black)


Another example:  (this one was done with brown)


After the paint is dry, apply a final layer of Mod Podge


When the Mod Podge is dry, take outside and spray with acrylic sealer.  I like using the Mod Podge brand.  Fully cover with a single layer of sealer and leave outside to dry for about 1 hour.  (This sealer is REALLY smelly, keeping it outside for the hour helps the stink wear off faster!)


The final product:
I like to add a pretty bow to each letter, but you can leave it plain, use raffia, you are only limited by your imagination!


I hope this was clear.  Please let me know if you have any questions, and I look forward to seeing what others come up with!!

Sunday, November 6, 2011

Oldies, but goodies

Ok, as promised, a few more things I've done.

 This is what I like to call a "CupCake" apron.  I just pick 2 coordinating fabrics, ruffle, and voila, done!  Ok, it takes a little more than just that, if you're interested in learning how to make this, comment/email me and I'd be happy to indulge!  BOOMER SOONER!
 This was a really fun project, using only 1 FABRIC (well not counting the purple border).  It's from a book called One Block Wonders by Maxine Rosenthal.  If you can see, the fabric is actually Chez Moi by Moda.  Love this quilt!
Last is just my own version of those great little pin cushions I see at craft shows.  Pin cushion on top and removable trash on the bottom.  I used those little tiny beads from the floral dept at Hobby Lobby and some loose stuffing for the tops to add weight and keep them on the counter, and then each one is a little different on how it is attached.  The green one has ribbon and buttons, the middle just used scraps of fabrics and a button hole, and the purple is actually attached with velcro.  These were great gifts for my crafy family members!

Saturday, November 5, 2011

New to Bloging

As this is my first blog, I'm not really sure what to write as a first post.  My intention is to share my favorite things with those that choose to enjoy them.  I love to craft, DIY, cook/bake, and refurbish.  PINTREST is my new favorite website, and I hope one day someone will link my blog to pintrest.  One can hope. 


This is one of my recent projects, a T-Shirt quilt I made for a co-worker.  I think the result speaks for itself.  Bright, colorful, and very girly.  This was really hard to part with once it was completed. 


The best tip I can give to someone trying to do a t-shirt quilt is to be patient, save the scraps, and put fusible on the back of every block!! Save those scraps and use them to make headbands, fabric flowers, bracelets, etc, you will actually have a lot of left over fabric, and the fusible will keep the jersey of the t-shirt fabric from stretching and puckering as it is used (and loved)! 

Stay tuned and I will continue posting pictures of projects I've done, am working on, or would like to do.  Thanks!

:0) LindseyZ